1
2
3
4
5
6
7
8
9
10
11
12
13
14
15
16
17
18
19
20
21
22
23
24
25
26
27
28
29
30
31
32
33
34
35
36
37
38
39
40
41
42
43
44
45
46
47
48
49
50
51
52
53
54
55
56
57
58
59
60
61
62
63
64
65
66
67
68
69
70
71
72
73
74
75
76
77
78
79
80
81
82
83
84
85
86
87
88
89
90
91
92
93
94
95
96
97
98
99
100
101
102
103
104
105
106
107
108
109
110
111
112
113
114
115
116
117
118
119
120
121
122
123
124
125
126
127
128
129
130
131
132
133
134
135
136
137
138
139
140
141
142
143
144
145
146
147
148
149
150
151
152
153
154
155
156
157
158
159
160
161
162
163
164
165
166
167
168
169
170
171
172
173
174
175
176
177
178
179
180
181
182
183
184
185
186
187
188
189
190
191
192
193
194
195
196
197
198
199
200
201
202
203
204
205
206
207
208
209
210
211
212
213
214
215
216
217
218
219
220
221
222
223
224
225
226
227
228
229
230
231
232
233
234
235
236
237
238
239
240
241
242
243
244
245
246
247
248
249
250
| # Configuration file of Harbor
# The IP address or hostname to access admin UI and registry service.
# DO NOT use localhost or 127.0.0.1, because Harbor needs to be accessed by external clients.
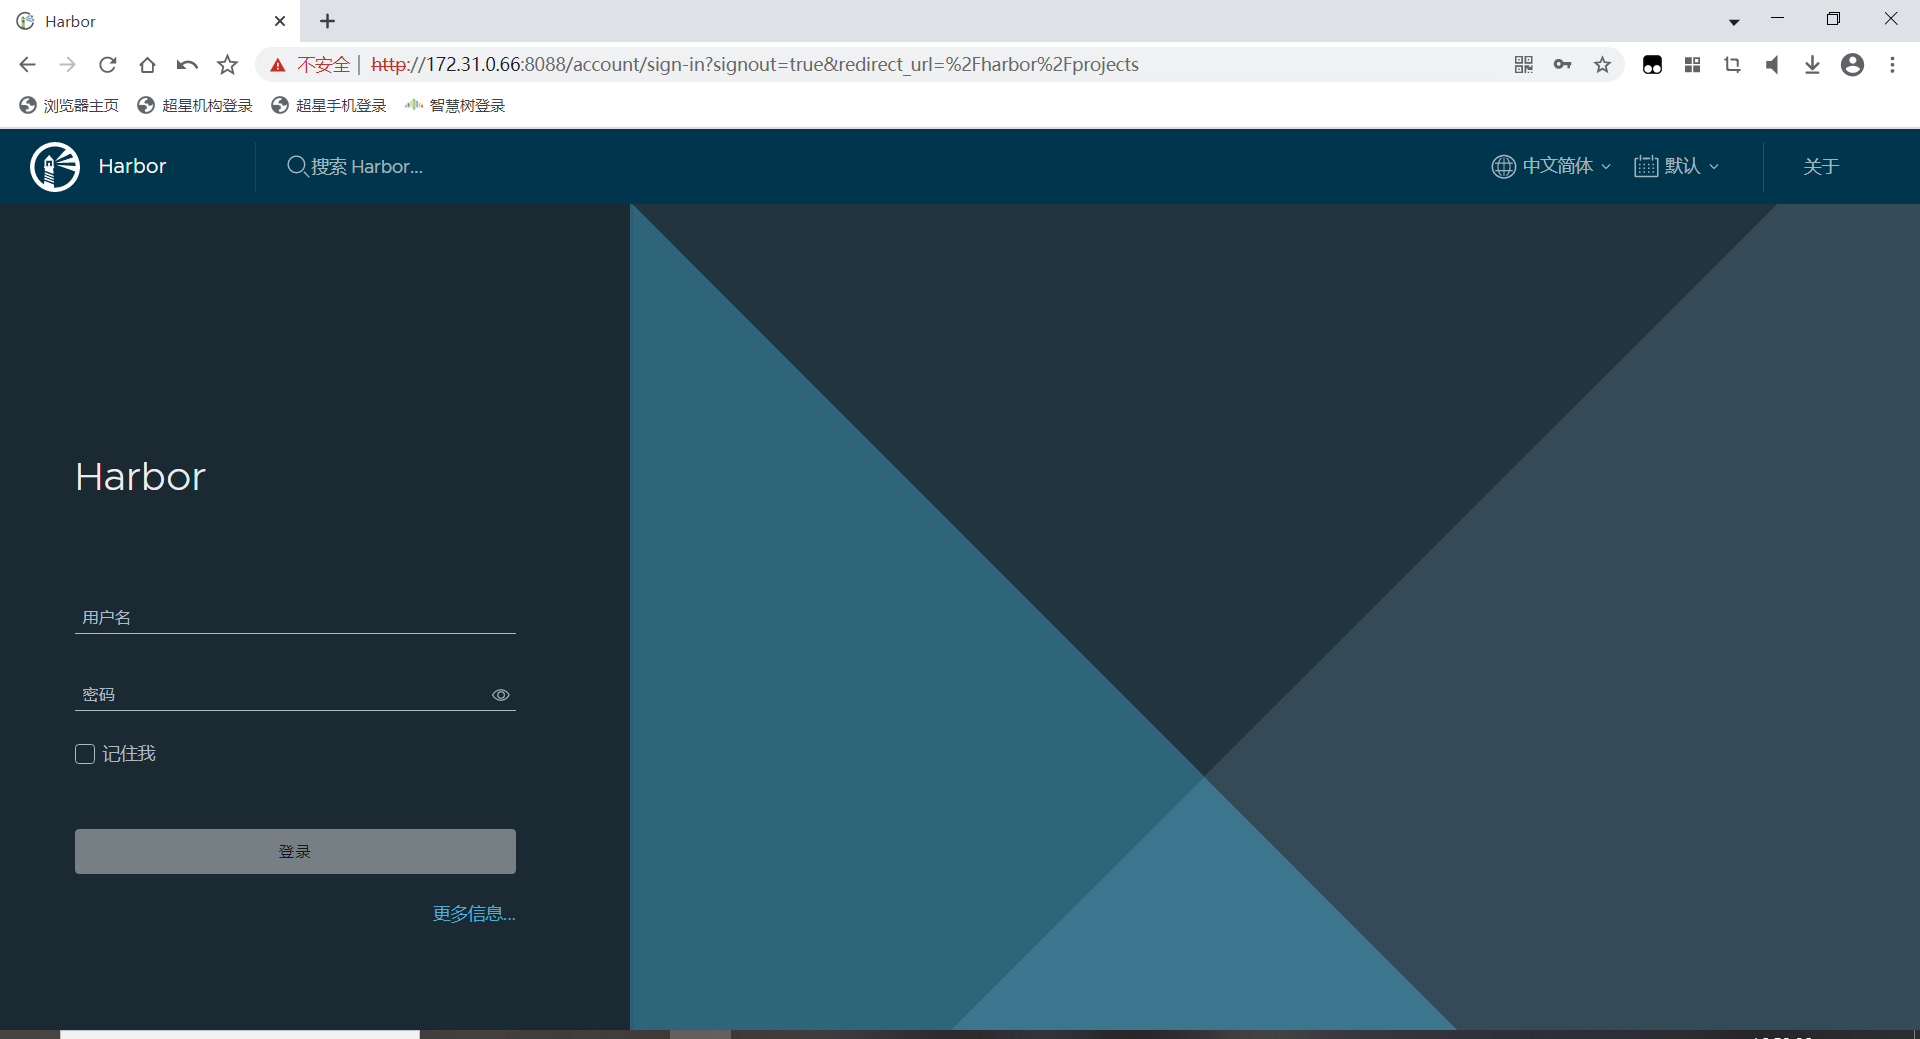
hostname: 172.31.0.66
# http related config
http:
# port for http, default is 80. If https enabled, this port will redirect to https port
port: 8088
# 不使用HTTPS
# https related config
# https:
# https port for harbor, default is 443
# port: 443
# The path of cert and key files for nginx
# certificate: /your/certificate/path
# private_key: /your/private/key/path
#
# internal_tls:
#
# enabled: true
#
# dir: /etc/harbor/tls/internal
# Uncomment external_url if you want to enable external proxy
# And when it enabled the hostname will no longer used
# external_url: https://reg.mydomain.com:8433
# The initial password of Harbor admin
# It only works in first time to install harbor
# Remember Change the admin password from UI after launching Harbor.
harbor_admin_password: admin
# Harbor DB configuration
database:
# The password for the root user of Harbor DB. Change this before any production use.
password: 123456
# The maximum number of connections in the idle connection pool. If it <=0, no idle connections are retained.
max_idle_conns: 100
# The maximum number of open connections to the database. If it <= 0, then there is no limit on the number of open connections.
# Note: the default number of connections is 1024 for postgres of harbor.
max_open_conns: 900
# The default data volume
data_volume: /mnt/harbor/data
# Harbor Storage settings by default is using /data dir on local filesystem
# Uncomment storage_service setting If you want to using external storage
# storage_service:
#
#
# ca_bundle:
#
#
# filesystem:
# maxthreads: 100
#
# redirect:
# disabled: false
# Trivy configuration
#
# It is downloaded by Trivy from the GitHub release page https://github.com/aquasecurity/trivy-db/releases and cached
# in the local file system. In addition, the database contains the update timestamp so Trivy can detect whether it
# should download a newer version from the Internet or use the cached one. Currently, the database is updated every
# 12 hours and published as a new release to GitHub.
trivy:
# ignoreUnfixed The flag to display only fixed vulnerabilities
ignore_unfixed: false
# skipUpdate The flag to enable or disable Trivy DB downloads from GitHub
#
# If the flag is enabled you have to download the `trivy-offline.tar.gz` archive manually, extract `trivy.db` and
# `metadata.json` files and mount them in the `/home/scanner/.cache/trivy/db` path.
skip_update: false
#
# Scanning JAR files and pom.xml may require Internet access for better detection, but this option tries to avoid it.
# For example, the offline mode will not try to resolve transitive dependencies in pom.xml when the dependency doesn't
# exist in the local repositories. It means a number of detected vulnerabilities might be fewer in offline mode.
# It would work if all the dependencies are in local.
# This option doesn’t affect DB download. You need to specify "skip-update" as well as "offline-scan" in an air-gapped environment.
offline_scan: false
#
# insecure The flag to skip verifying registry certificate
insecure: false
# github_token The GitHub access token to download Trivy DB
#
# Anonymous downloads from GitHub are subject to the limit of 60 requests per hour. Normally such rate limit is enough
# for production operations. If, for any reason, it's not enough, you could increase the rate limit to 5000
# requests per hour by specifying the GitHub access token. For more details on GitHub rate limiting please consult
# https://developer.github.com/v3/
#
# https://help.github.com/en/github/authenticating-to-github/creating-a-personal-access-token-for-the-command-line
#
jobservice:
# Maximum number of job workers in job service
max_job_workers: 10
notification:
# Maximum retry count for webhook job
webhook_job_max_retry: 10
chart:
# Change the value of absolute_url to enabled can enable absolute url in chart
absolute_url: disabled
# Log configurations
log:
# options are debug, info, warning, error, fatal
level: info
# configs for logs in local storage
local:
# Log files are rotated log_rotate_count times before being removed. If count is 0, old versions are removed rather than rotated.
rotate_count: 50
# Log files are rotated only if they grow bigger than log_rotate_size bytes. If size is followed by k, the size is assumed to be in kilobytes.
# If the M is used, the size is in megabytes, and if G is used, the size is in gigabytes. So size 100, size 100k, size 100M and size 100G
# are all valid.
rotate_size: 200M
# The directory on your host that store log
location: /var/log/harbor
# Uncomment following lines to enable external syslog endpoint.
# external_endpoint:
#
# protocol: tcp
#
# host: localhost
#
# port: 5140
#This attribute is for migrator to detect the version of the .cfg file, DO NOT MODIFY!
_version: 2.5.0
# Uncomment external_database if using external database.
# external_database:
# harbor:
# host: harbor_db_host
# port: harbor_db_port
# db_name: harbor_db_name
# username: harbor_db_username
# password: harbor_db_password
# ssl_mode: disable
# max_idle_conns: 2
# max_open_conns: 0
# notary_signer:
# host: notary_signer_db_host
# port: notary_signer_db_port
# db_name: notary_signer_db_name
# username: notary_signer_db_username
# password: notary_signer_db_password
# ssl_mode: disable
# notary_server:
# host: notary_server_db_host
# port: notary_server_db_port
# db_name: notary_server_db_name
# username: notary_server_db_username
# password: notary_server_db_password
# ssl_mode: disable
# Uncomment external_redis if using external Redis server
# external_redis:
#
#
#
#
# host: redis:6379
# password:
#
#
#
# registry_db_index: 1
# jobservice_db_index: 2
# chartmuseum_db_index: 3
# trivy_db_index: 5
# idle_timeout_seconds: 30
# Uncomment uaa for trusting the certificate of uaa instance that is hosted via self-signed cert.
# uaa:
# ca_file: /path/to/ca
# Global proxy
# Config http proxy for components, e.g. http://my.proxy.com:3128
# Components doesn't need to connect to each others via http proxy.
# Remove component from `components` array if want disable proxy
# for it. If you want use proxy for replication, MUST enable proxy
# for core and jobservice, and set `http_proxy` and `https_proxy`.
# Add domain to the `no_proxy` field, when you want disable proxy
# for some special registry.
proxy:
http_proxy:
https_proxy:
no_proxy:
components:
- core
- jobservice
- trivy
# metric:
# enabled: false
# port: 9090
# path: /metrics
# Trace related config
# only can enable one trace provider(jaeger or otel) at the same time,
# and when using jaeger as provider, can only enable it with agent mode or collector mode.
# if using jaeger collector mode, uncomment endpoint and uncomment username, password if needed
# if using jaeger agetn mode uncomment agent_host and agent_port
# trace:
# enabled: true
# # set sample_rate to 1 if you wanna sampling 100% of trace data; set 0.5 if you wanna sampling 50% of trace data, and so forth
# sample_rate: 1
# # # namespace used to differenciate different harbor services
# # namespace:
# # # attributes is a key value dict contains user defined attributes used to initialize trace provider
# # attributes:
# # application: harbor
# # # jaeger should be 1.26 or newer.
# # jaeger:
# # endpoint: http://hostname:14268/api/traces
# # username:
# # password:
# # agent_host: hostname
# # # export trace data by jaeger.thrift in compact mode
# # agent_port: 6831
# # otel:
# # endpoint: hostname:4318
# # url_path: /v1/traces
# # compression: false
# # insecure: true
# # timeout: 10s
# enable purge _upload directories
upload_purging:
enabled: true
# remove files in _upload directories which exist for a period of time, default is one week.
age: 168h
# the interval of the purge operations
interval: 24h
dryrun: false
|